|
|
 |
Importing Micro-Cap Schematics and Plots Into Other Documents
Microsoft Word Documents
Ever want to include a schematic or a plot picture file in a report you're writing? Here is how to do it. There are two basic steps:
1) Create the picture file. To do this, open the Edit menu and select the Copy Entire Window to a Picture File option. This will bring up a file dialog box where you can specify the name and location of the file to save the picture to. This option saves under the Windows Meta File (WMF) format. This is a very flexible format that lets you resize the image within the target document.
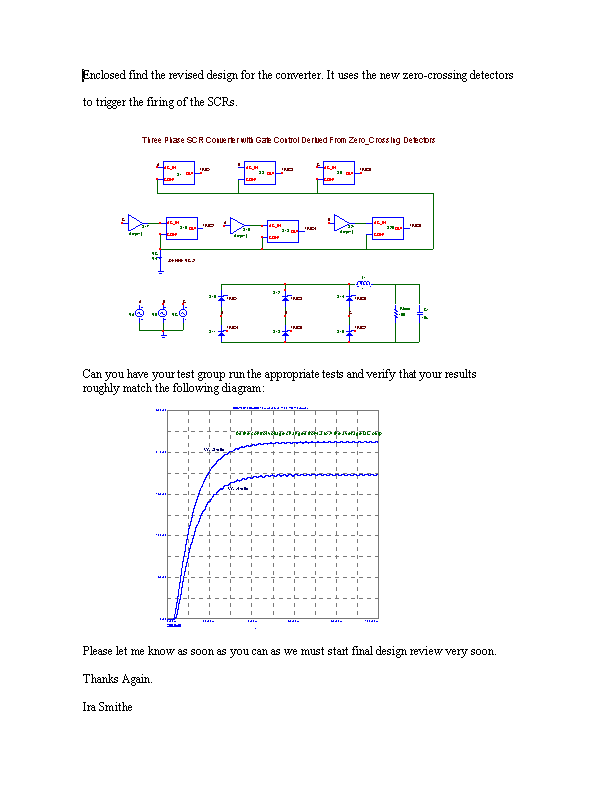
2) Run Word and load the document to receive the picture file. Make sure the text cursor is at the start of a new line. Select the Picture item from the Insert menu. Select the From File option. A file dialog box will be presented. Specify the Micro-Cap data directory as the file location. Pick the picture file you want, using the same name as in step 1. The picture file will load. It can be re-sized and moved around with tabs and spaces to achieve the layout you need. Here is a sample Word page showing two picture files, a schematic and a transient analysis plot.
|

|
Microsoft Excel Documents
The procedure for importing into Excel is nearly the same. First create the document in the same way. Then import it by using the Select the Picture item from the Insert menu, Finally, select the From File option. Here is what a typical Excel document with imported Micro-Cap pictures might look like:
|
|
|
|
|


